I have been watching some programs about the construction of a two seat Hurricane. This inspired me to make a Mk. 1, which I had not done since I was a kid. I have made a 1/48th scale Sea Hurricane but I broke all the landing gear so it is a bit of a failure.
Anyway, I placed an order with our friends in the North (or Lowestoft at least) and got on with it.
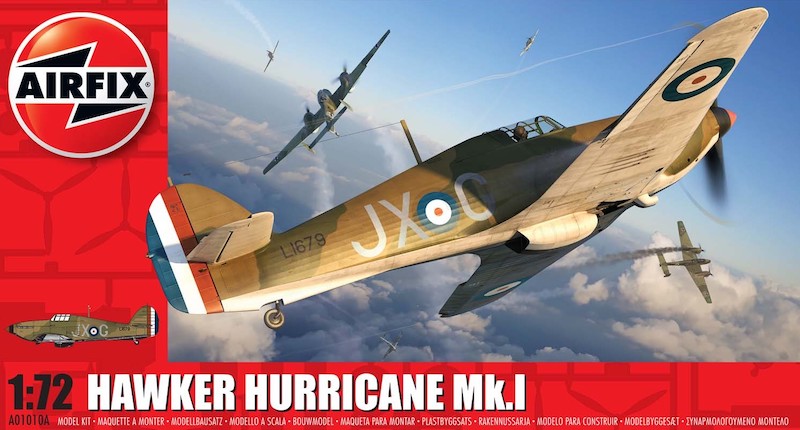
The aircraft on the decals was a 1939 Mk. 1 that was based in France during the "Phoney War". It had that strange black and white undersurface pattern. Colin Ovens describes the early war options in his book - "A (very) Rough Guide to UK Fighter & Bomber Colours September 1939 to the 1990s" which is available from the IPMS Clacton web site.
RAF fighters: UK & NW Europe
Sept 1939 to June 1940
Dark Earth/Dark Green disruptive camouflage was on the upper surfaces. Undersides were originally port-side Black and starboard-side White, divided along the centre-line of the fuselage - but on June 6, 1940 all fighter undersides were ordered to be painted in Sky. Little of this paint was immediately available to front-line squadrons, and thus aircraft undersurfaces appeared in a variety of locally mixed colours ranging from Eau-de-nil to Duck Egg Blue, but from early/mid-August 1940, the supply of Sky had much improved; by the end of September most fighters had Sky undersides. Squadron code letters were Medium Sea Grey; spinners were painted Black.
OK, so I had the details and proceeded with the kit. This is a very simple kit with not much of a cockpit (not that you could see in there anyway). I, fairly quickly, got the cockpit done, the fuselage made and the wings on. Nowadays, I leave the tailplanes off if I have to mask up a different colour on the underside from the upper surfaces. This makes the masking easier as you don't have to fiddle around them with the masking tape.


No comments:
Post a Comment